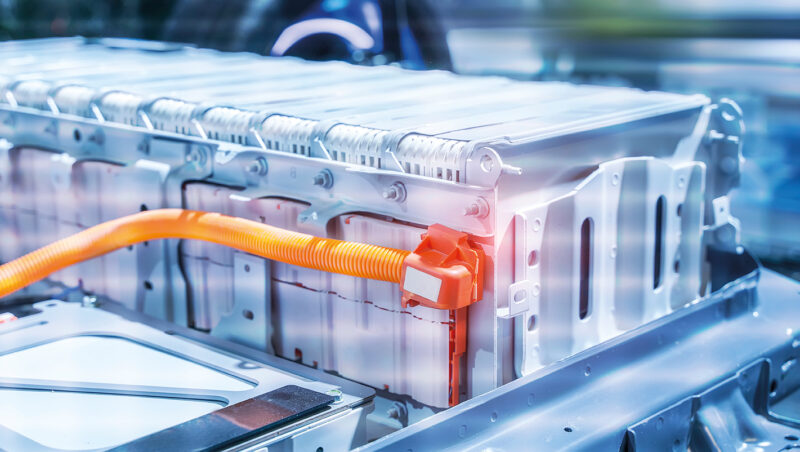
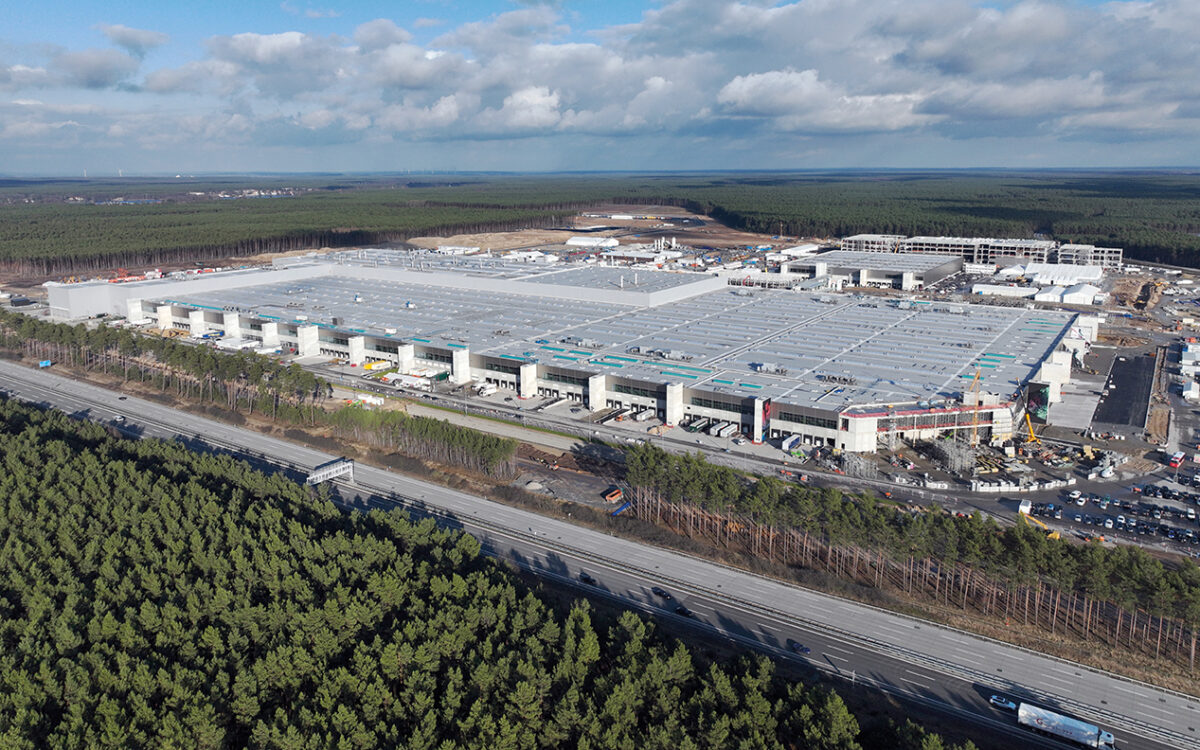
As gigafactory environments rapidly develop, manufacturers are continuously racing to achieve more from their production in terms of productivity, yield, cost-efficiency and sustainability. Despite the challenges involved in meeting any one of these goals, it is possible to achieve them by ensuring product quality. However, this advancement depends on giving a central role to material analysis across the factory, says Hitachi.
Materials analysis is one of the key drivers for a gigafactory to achieve increased success. Well implemented, end-to-end materials analysis helps uphold quality across a wide range of production processes, from the processing of raw materials and production quality control to final inspection.
Measurable improvements can be expected by introducing inspection and analysis technologies which are focused on product quality across individual areas of the vehicle and battery manufacturing processes.
Improving overall yield and reducing waste delivers a range of operational and strategic benefits, with solutions that are available now and developing in line with future trends.
In gigafactory production, it is well understood that manufacturing costs remain high due to poor yield-to-defect ratios for lithium-ion batteries, where material defects in the production process result in product scrappage. These costs could be avoided if defects are detected earlier in the manufacturing process. This principle also applies across the whole manufacturing process.
Equipping laboratories, shop floors and incoming inspection with integrated testing processes that provide clear, actionable data is essential to maintain a competitive advantage. The rapid evolution of in-house research and development (R&D), materials science, and engineering of electric vehicles means the equipment must be sufficiently future-proofed to adapt to the constantly evolving composition of many materials.
Testing methods for across the production process
The field of materials analysis has been rapidly changing in recent years. Many gigafactory processes could benefit from material inspection and analysis, using a range of advanced, reliable analysis techniques that are matched and optimised to each application, delivering substantial quality benefits across the factory. Here are some of the key technologies and how they work, each having their own strengths and weaknesses.
X-ray particle contaminant analysis
X-ray particle contaminant analysers combine X-ray transmission imaging with X-ray fluorescence analysis in a single instrument. They are commonly used to test cathodes or anodes for metal contaminants before the stacking process and to check the incoming materials used in lithium-ion battery and hydrogen fuel cell production.
In the first step of the analysis, a transmission X-ray image is generated when X-rays pass through the sample and reach a detector located on the other side. High density objects such as metal particles stop or absorb more X-rays than objects with lower density. This enables the manufacturer to detect, locate, and count metal contaminants, providing essential information for quality control and failure analysis.
The second step of the analysis uses X-ray fluorescence (XRF) spectroscopy with powerful polycapillary optics to determine the composition of the metal particles detected in step 1.
The two technologies working in tandem deliver rapid results of the size, number, distribution, and type of metal particles present within critical areas of the lithium-ion battery manufacturing process.
Scanning electron microscopy
Scanning Electron Microscopy (SEM) is frequently used for the structural and chemical analysis of battery materials. SEMs have historically been widely used in R&D and failure analysis of battery materials, but more recently they are also utilised “near-line” or “in-line” at volume production facilities.
Their ability to quickly and easily identify contaminants helps to ensure battery safety and enhance production yield. Similarly, their ability to detect structural changes means process parameters can be quickly adjusted to maximise battery performance and quality. Advanced automation capabilities mean these powerful microscopes can be used for high throughput analysis without the need for expert operators, making them ideally suited to volume production environments.
For example, Hitachi’s battery-specific sample preparation workflows using broad ion-beam milling also offer internal structure visualisation of raw material and completed devices – enabling precise evaluation of critical factors such as porosity, grain size, and particle distribution.
Optical emission spectroscopy
Optical emission spectroscopy (OES) is a well trusted and widely used analytical technique to determine the elemental composition of a broad range of metals from the melt in primary and secondary metal production to material verification and quality control in fabrication and product manufacturing.
OES uses electricity to excite the molecules in a metal or alloy sample and measure the relative proportions of each. It does this either as a spark – a series of multi-discharge events where the voltage of the electrode is switched on and off – or as an arc, a single on/off event like a lightning strike.
OES offers the highest levels of accuracy, with detection to very low levels for all the important elements. While the technique can only be used to test metals, it can measure non-metallic elements within them. It excels at measuring the levels of carbon, boron, phosphorous, and nitrogen in steel, for example. The OE750 from Hitachi High-Tech Analytical Science has a wavelength range of 119 to 766 nm, which covers all elements from hydrogen to uranium, for complete metals analysis.
However, OES will leave a burn mark on the sample. It also requires argon gas canisters, unless used with an arc probe.
X-ray fluorescence
X-ray fluorescence (XRF) is an established and well trusted analytical technology, having been used in benchtop, portable and, more recently, handheld materials analysis for almost 50 years. The technique uses X‑rays, which are generated by the source and directed at the sample, to excite the atoms at the surface of the sample. Atoms in the sample react and generate secondary X-rays, which are collected and processed by a detector.
Unlike OES and LIBS (laser-induced breakdown spectroscopy), XRF is a non-destructive form of material analysis, being able to measure solids, liquids, and powders, including coating thickness and final products, which can be critical in several aspects of the automotive manufacturing process. XRF analysers are ideal for accurate chemical composition, including identifying trace and tramp elements. XRF is commonly used for recycling, especially black mass, supporting the principles of circular economy which is critical to achieving a sustainable gigafactory.
However, XRF technology cannot measure all elements, including lithium and boron, which are both used to form aluminium alloys.
Laser-induced breakdown spectroscopy
The newest and fastest of the three methods to analyse the composition of metals, LIBS uses a laser diode to emit a small, powerful laser onto the surface of a sample and dissipate a small amount to form an energised plasma. As the plasma cools, each element in the sample emits a characteristic wavelength which can be measured using a spectrometer. A measurement can be carried out as quickly as one single second.
Samples can be conductive or non-conductive materials, but the LIBS technique needs a solid surface that is clear of dirt and contaminants. Because of its speed compared to other techniques, this technology is particularly good for measuring aluminium alloys.
While it is a destructive testing method, LIBS is less destructive than OES, with the laser burn usually considered to be surface roughness rather than classed as a defect to a component.
Thermal analysis
Thermal analysis (TA) measures the change in a material’s behaviour as a function of time or temperature, either when heated, cooled or kept at constant temperature. Sample sizes are typically in milligrams and the material changes detected are extremely small.
Among the material behaviours that can be monitored are sample weight, stiffness, melting temperature and sample size. These measurable changes are plotted as thermograms and the characteristics of these graphs provide precise information on fundamental material properties such as melting point, glass transition, and crystallisation temperature.
From this information, a material’s fundamental characteristics and composition can be determined and the material’s behaviour in each application can be predicted. Using TA is important to make sure materials meet the necessary specifications.
Quality control
Quality control in the gigafactory can be easily implemented through a comprehensive, integrated materials analysis strategy. When introduced across the factory at every stage, the individual process benefits accumulate, protecting quality and delivering measurable benefits to costs, productivity and sustainability.
Implementing and upholding quality needs careful and sustained embedding into an organisation to realise their potential. This will help ensure long-term success for both people and processes, enhancing productivity and sustainability throughout the gigafactory.


